Camera
-
My First Roll!
Well I just got my first ever roll of film developed from my Olympus OM2n and I’m very pleased with the results. Actually, I’m just pleased with the fact that the camera even worked! I wasn’t sure if the light meter would still work after 30 years, and I wasn’t certain how well I’d changed the light seals, so I was very happy when everything seemed to work as it should.
One frustrating thing however is my film scanner. It’s just a cheap flatbed scanner and with a film negative attachment. I really need a proper one, as the one I’m using doesn’t capture anywhere near enough detail and makes the pictures looks too grainy (more than normal).
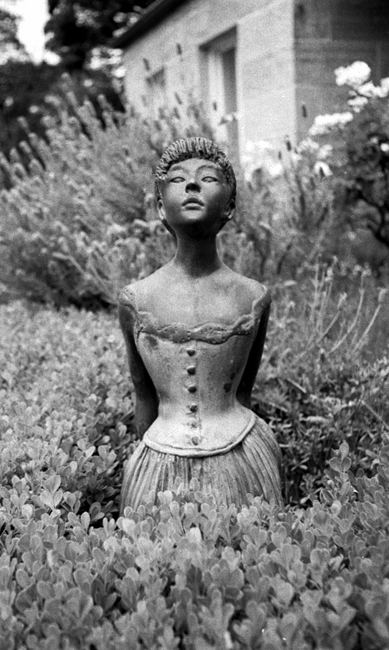
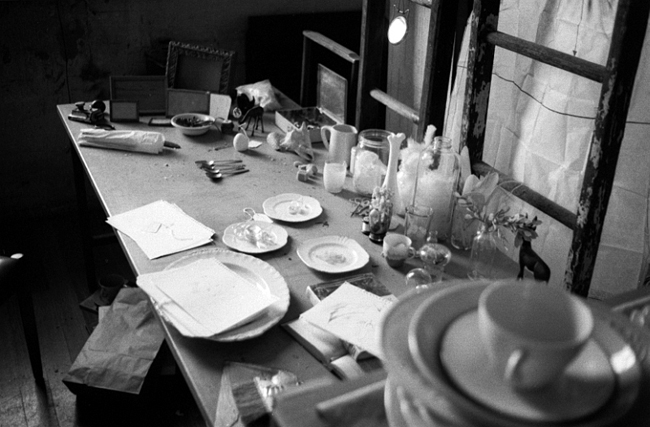
But I thought I’d post some up anyway, I’m still pleased with the results, especially considering it was my first ever go with a manual focus camera, and essentially a test roll with this new camera.These are just a few taken around my house and at dad’s studio. As I said before, the scanner just doesn’t pick up anywhere near as much detail as it should… Next time I’ll use a proper scanner.
Edit: Three photos have been corrupted so have been removed from this post.
-
Cross Processing Shibuya
I still have heaps of photos from my Asia trip I haven’t really gone through yet.
These are some I took in Shibuya Japan, I’m sure you probably recognise it. It’s a crazy place, so many aspects of it seem like you’re in the movie Blade Runner. There is so much activity going on around you. People everywhere, TV screen flashing at you, the sound of seizure inducing Pachinko Parlors, and the alleys filled with “Love hotels”. Its a sensory overload and I thought it was fantastic.I tried out a Cross Processed effect with these. I found a Cross Processing action which worked ok, but it fell short of what I was ultimately after so processed them further myself. I quite like how they turned out, hope you like some of them too. These first 2 photos were taken from Starbucks above the intersection. It has the best view, but unfortunately a lot of people bumping the bench I was resting the camera on!


-
Phillip Island MotoGP
I went to the MotoGP last weekend and it was fantastic. Beautiful day, great result, and I got a few pictures too.
So far I just have photos from the digital camera on the day of the race. But soon I’ll get some film developed with photos I took in Melbourne, and am looking forward to those.I had probably the worst lens for the day, a slow f/4 zoom however it was better than nothing! Here are some pics…
Danny Pedrosa (who was on pole position for the race) dropped the bike on the practice lap right in front of us.. It was hilarious, he wasn’t actually moving much at the time, he was accelerating from a stop and fell off the back off the bike. Not his finest moment.



Some support Races etc.


Then we had these guys.. So damn impressive.


The Podium.. Stoner, Capirossi, Rossi.

BEFORE

…

AFTER

Rossi is still a crowd favourite.

The long walk back on the track.

-
OM2n Light Seal Repair
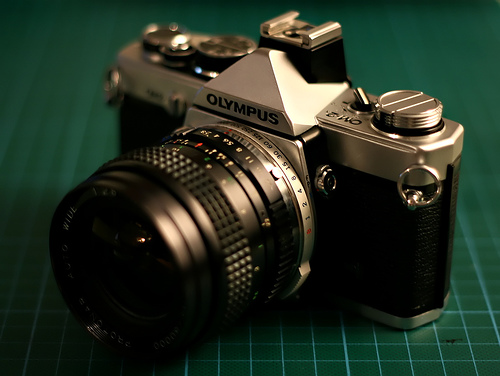
I’ve acquired yet another Olympus OM but this time the OM2n model. The one I have is in near perfect condition, with hardly any wear on the body at all. I doubt it has been used much in its life time so far, but that’s about to change!
Even though it was in such good cosmetic condition, the batteries and light seals predictably needed to be replaced. So I ordered some new silver oxide batteries (no the alkaline type), and then started my search for some new light seals. I stumbled on the kits made by Jon Goodman and ordered one after reading so many good reports. The light seal kit came today, so I really wanted to get started on it. This is how it went :
Below you will see a couple of pics of the old light seals. They have deteriorated quite a bit over time, and have just turned into black sticky muck basically.
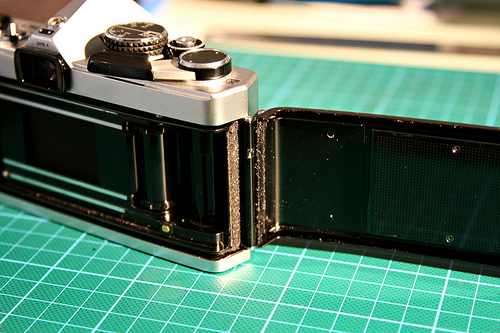
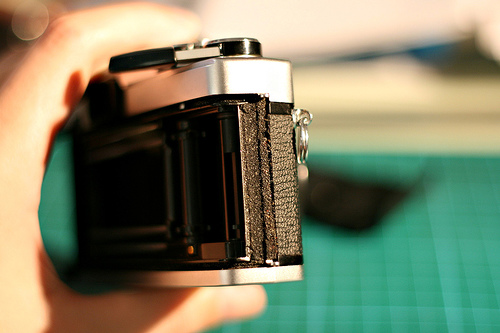
The first step was to remove the remaining old seals. This was done using solvent and this nifty little bamboo stick that came with the light seal kit. It didn’t come out as easy as I had hoped, and took quite a lot of time to scrape it all out. Next time I’ll use a slightly more powerful solvent.
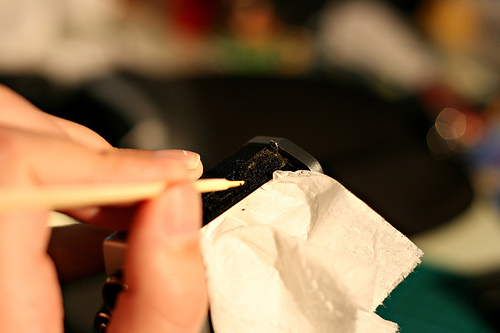
Next, I had to put the new foam light seals in. First I put in new rail slot on the back. Then a nice new fabric hinge seal. Both were very self explanatory to do.
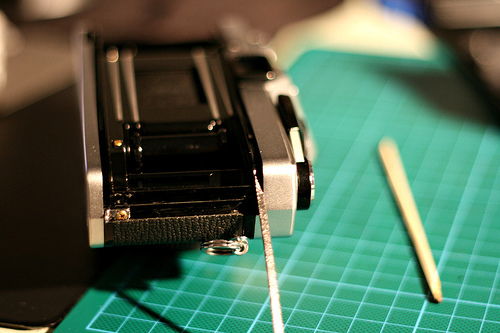
After that I had to move onto the hard bit, the mirror damper. This was actually really tricky for a couple of reasons. First of all, the area is physically quite difficult to get to, and it was hard to get any light in there to see what you were doing (I should of done it during the day with some natural light). The other difficult part was actually cutting the foam to size. Adhesive backed foam cut at 2mm wide is reluctant to retain its shape, and it’s easy to get a bad cut. Using a Stanley Knife I managed to get it first go, but there has to be a better way of doing it, something I’ll think about for next time. Below you can see one of the two “L” shaped pieces of foam I had to cut. It looks a lot easier than it was!
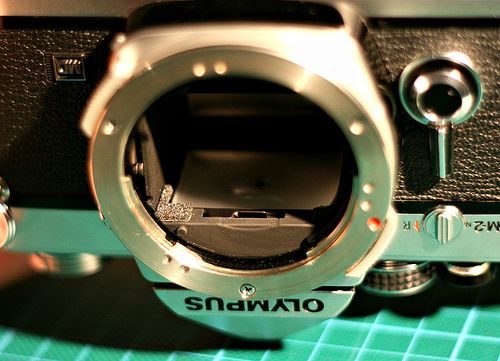
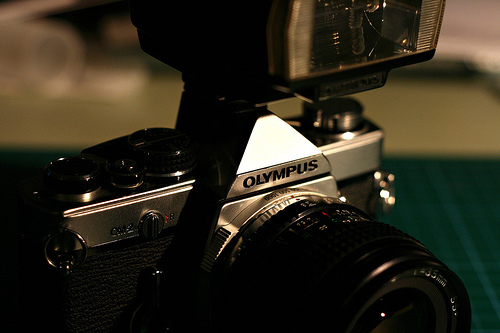
After the mirror damper was replaced the whole process was complete. As mentioned, it was mostly self explanatory and simple except for the intricate last step. You can comfortably replace all the seals in half an hour though and at a fraction of the cost of paying a camera store to do it for you. The kit from Jon Goodman was great. It contained everything needed (besides the Stanley blade) and there is enough foam left over just in case you make a mistake and need to tray again. Once you learn the principles you can apply the knowledge to a range of other cameras that may need light seal repairs. At the end of the day, all you’re trying to do is create a light tight box after all.
-
Olympus OM10 – A New Acquisition
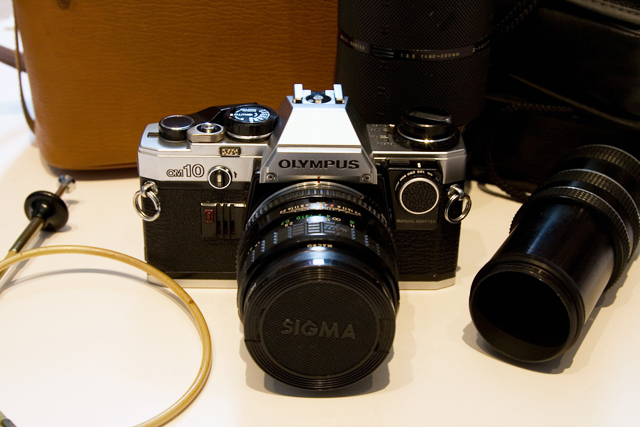
Heres a quick picture of my new toy I picked up today for the massive sum of $11.
It’s an Olympus OM10 with manual adapter, plus all the accessories you can (and can’t) see in the photo, including a power winder, 2 flashes, a bag, a couple of sigma lenses and a Zuiko 50mm f/1.8. Oh and 3 normal compact film cameras that she had lying around. I’m pretty happy with it all 🙂 And yes it all works which is a plus. But I’ve still ordered a light seal kit and some new batteries for it (even though the old ones still worked).
The OM10 began manufacture in 1979 and is part of a “middle” range series of cameras in the OM system. The “top” range being the single digit models such as OM1, OM2, OM3 etc.
I cant wait to put some film through it and take some pictures!