-
The Olympus mju:-II (Stylus Epic)
Ok, quick question. How many cameras can you think of that satisfy the below criteria?
- compact
- rugged/all weather construction
- super sharp and contrasty fast lens
- spot metering
- auto focus
- auto film winding
- decent flash with various modes
Thought of any? Ok, now tell me how many of those come in under $20?
Is your list getting smaller? It may even be empty. If you’re lucky though you will still have one camera in mind, the mighty Olympus Mju:II. (The only other camera that might come close is the Konica Big Mini, but they’re more expensive, and I don’t have any experience with them yet).What’s wonderful about this camera is its simplicity and quality. It’s a proper point and shoot that manages to produce wonderful pictures that rival cameras many thousands for dollars more expensive. Don’t believe me? Well just go over to Flickr and check out some sample pictures.
Obviously a great camera doesn’t equal great pictures. But having something so small and inconspicuous will always give you an advantage over something big and obvious. Street photos, architecture, party snaps, the camera can do it all.
Just for the record, this camera isn’t perfect. It has some quirks that can be annoying, such as how it resets settings when you shut it down (for example, it’ll reset the flash mode you selected earlier). Trying to focus through glass can also be annoying but sometimes fixed by focusing to infinity at the sky then re-composing the shot again. Also, selecting spot metering can be fiddly. But the good points far outweigh the bad, And the truth is that this is an amazingly simple, cheap, and compact camera that takes amazing photos. It’s currently my “go everywhere” camera and if you can’t already tell I really enjoy using it. If you’re in the position to get one don’t hesitate, I’m certain you’ll get a lot out of it.* 2020 Edit: So this whole Olympus mju thing really blew up didn’t it. It’s pretty tough finding them for under $20 anymore, but if you’re lucky you can get them for under $100. Honestly though, as great as they are, I don’t think they’re worth the current market prices of $300+. That’s kind of insane.
Some shots from my First Week with the Mju:II
And here’s a Flickr group for the Mju:II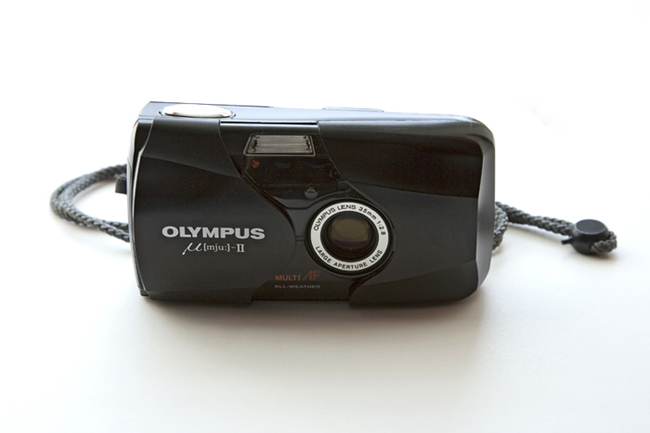
-
Ghetto style light box
Well I’ve been meaning to make one for a while now, and this afternoon I finally did it.
All you need is:
– Cardboard box,
– White paper, tracing paper or white plastic,
– Tape,
– Lights (desk lamps or anything directional).Method:
Simply cut out the sides of your cardboard box. Obviously don’t cut everything, you need to keep the cardboard box as a frame so it’s keeps its structural integrity. Next you just tape the paper to the sides of the remaining cardboard box “frame” making sure to leave one side completely open. By now you should have a box frame with paper attached to all but one side. If so, you’re finished!Well almost. All that’s left is setting up your light sources to point through the paper sides of the box shining in to the object you’ll place inside. The idea is that the paper diffuses the multiple light sources entering the light box creating a soft even light with minimal shadows. It’s best to have the same type of lights on the outside if possible as it helps keep an even white-balance. As you can see my white balances are off as I ended up using 4 completely different light sources, which wasn’t ideal.
I think I got an ok result for a first time test. I need to work on focusing and composition, as well as exposure and controlling the harshness of the lights a bit more.. So basically everything..
I’m looking forward to giving it another go though when I can spend more than 10 minutes setting it all up.
Here are a few of my results so far (yes, the white balance is all over the place).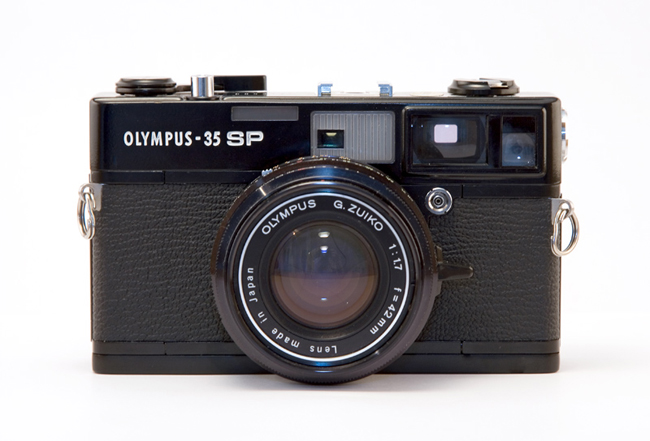


😀

-
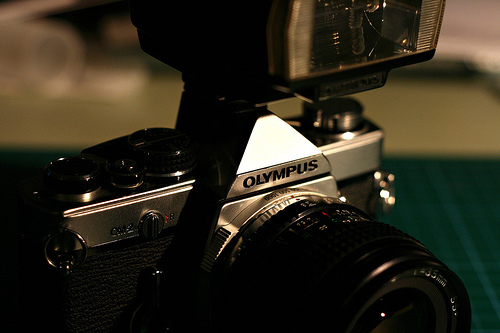
The OM-2SP
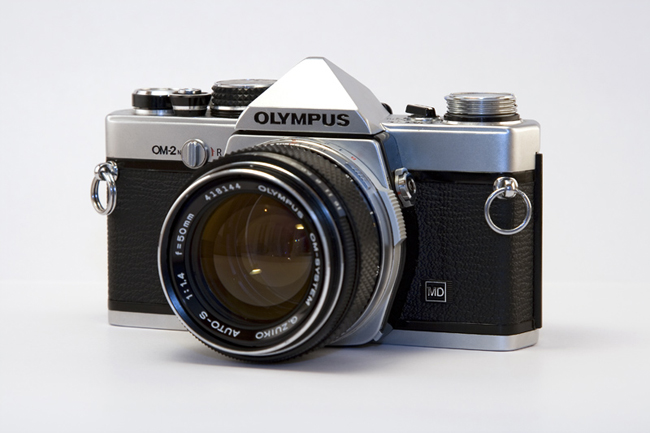
Yep, got another Olympus camera. This deal was too good to pass up. It’s the OM2SP (spot/program). Quite similar to my OM2n, however this has a few extra nifty features. First of all the most obvious one is that it has a spot meter for tricky lighting conditions. Yeah, its not as advanced as modern day metered cameras, but it’s still pretty decent. I’ve managed fine without spot metering in the past, but this new addition will create a few more opportunities now. Secondly it has an an LCD meter display instead of the meter needle in the OM2n. This should make things a hell of a lot easier when shooting at night, as it’s given me problems in the past. Also it has a built in hot shoe, as opposed to the removable ones that were prone to cracking (mine never has though). Plus a full auto and a program mode, which I’ll try out eventually. Oh and last but not least, its black, which is just cool 😉
All of this, and it’s still the same size as my OM2n. The OM2SP (or OM2S) have never gained the same popularity as the OM1(n), OM2(n), OM3Ti and OM4Ti series cameras. They have the reputation of being unreliable, or eating up batteries etc. But I’m not sure how accurate these claims are, and I’ve spoken to professional camera repairers who in their far greater experience than mine agree. It may of got this reputation because it’s more or less based on the OM4 which contains some circuitry that cannot really be replaced if it fails. Because of that, in the eyes of the uninformed it all of a sudden becomes a camera prone to faults, which is false. Like some OM4’s the OM2SP can drain batteries even when not being used, but I never store mine with the batteries in them anyway.
I think a lot of the time camera geeks like to rubbish brands, models, techniques, etc for the sake of it. This is pretty clear on just about any camera forum or bulletin board you visit. The general consensus decides “yeah that’s rubbish”, then people perpetuate the misconception, so someone says “i heard this isn’t any good” “yeah i heard that too, must be true”. The Internet never lies of course! Generally these are same type of people who enjoy taking photos of brick walls and comparing barrel distortion and pixel density (for digital cameras), at the cost of going out to take photos of things with any real value/interest. Sure there’s nothing wrong with comparing and testing equipment, but if that’s all you do then you need to get a life. Anyway, enough ranting. The more people think cameras are no good, the cheaper I can get them for 😀
Here it is here, with a pristine 35-70mm zoom & lens hood, and pristine Sunpak Auto flash. Actually everything is pristine, I doubt the camera has been used more than a few times. It also came with a huge amount of brochures and booklets all in this awesome retro bag that I’ll have to try and get a photo of.
Here are some quick photos of it all.
Group shot: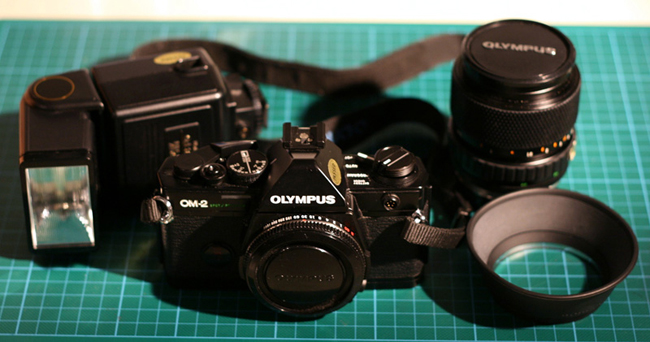
New camera = new light seals… Actually these ones were pretty decent and probably would of been ok, But I had all the materials in front of me so decided to change them all. Used nail polish remover this time to get rid of the old stuck on foam which worked so much better than the stuff I used last time…
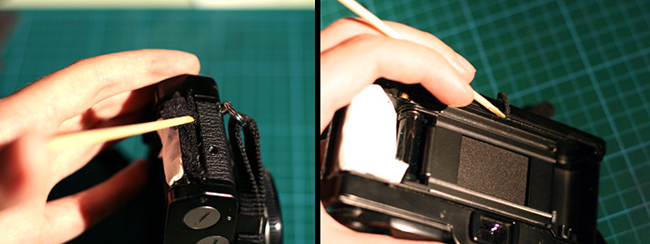
Was pretty late at night, and the light in my room is useless so I had to shoot this at 800 iso.. Ugly digital grain galore… (You may notice I took the Gold sticker off the body, it was shitting me)
-
OM2n Light Seal Repair
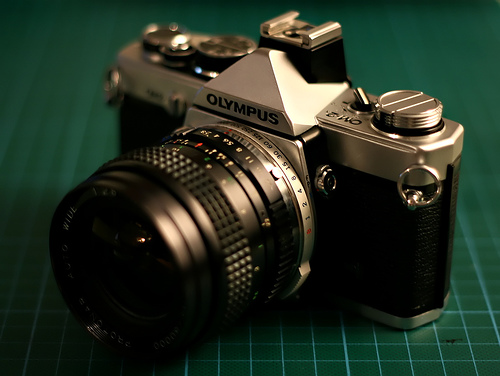
I’ve acquired yet another Olympus OM but this time the OM2n model. The one I have is in near perfect condition, with hardly any wear on the body at all. I doubt it has been used much in its life time so far, but that’s about to change!
Even though it was in such good cosmetic condition, the batteries and light seals predictably needed to be replaced. So I ordered some new silver oxide batteries (no the alkaline type), and then started my search for some new light seals. I stumbled on the kits made by Jon Goodman and ordered one after reading so many good reports. The light seal kit came today, so I really wanted to get started on it. This is how it went :
Below you will see a couple of pics of the old light seals. They have deteriorated quite a bit over time, and have just turned into black sticky muck basically.
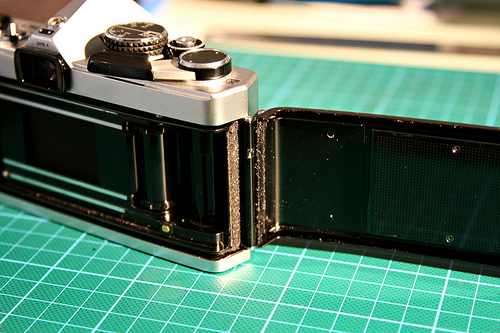
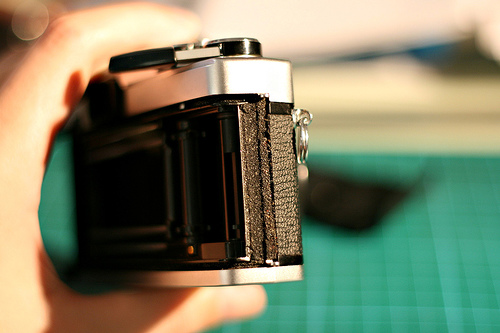
The first step was to remove the remaining old seals. This was done using solvent and this nifty little bamboo stick that came with the light seal kit. It didn’t come out as easy as I had hoped, and took quite a lot of time to scrape it all out. Next time I’ll use a slightly more powerful solvent.
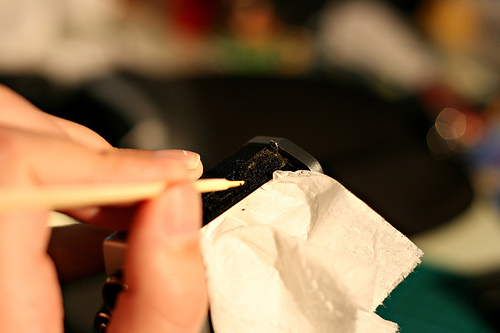
Next, I had to put the new foam light seals in. First I put in new rail slot on the back. Then a nice new fabric hinge seal. Both were very self explanatory to do.
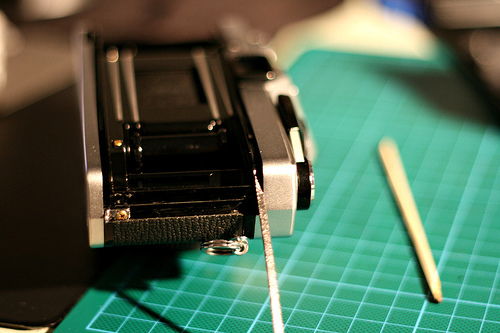
After that I had to move onto the hard bit, the mirror damper. This was actually really tricky for a couple of reasons. First of all, the area is physically quite difficult to get to, and it was hard to get any light in there to see what you were doing (I should of done it during the day with some natural light). The other difficult part was actually cutting the foam to size. Adhesive backed foam cut at 2mm wide is reluctant to retain its shape, and it’s easy to get a bad cut. Using a Stanley Knife I managed to get it first go, but there has to be a better way of doing it, something I’ll think about for next time. Below you can see one of the two “L” shaped pieces of foam I had to cut. It looks a lot easier than it was!
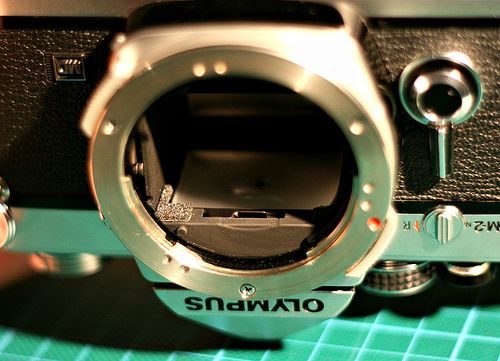
After the mirror damper was replaced the whole process was complete. As mentioned, it was mostly self explanatory and simple except for the intricate last step. You can comfortably replace all the seals in half an hour though and at a fraction of the cost of paying a camera store to do it for you. The kit from Jon Goodman was great. It contained everything needed (besides the Stanley blade) and there is enough foam left over just in case you make a mistake and need to tray again. Once you learn the principles you can apply the knowledge to a range of other cameras that may need light seal repairs. At the end of the day, all you’re trying to do is create a light tight box after all.