
OM2n Light Seal Repair
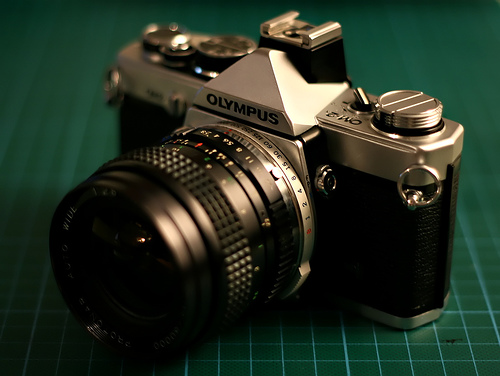
I’ve acquired yet another Olympus OM but this time the OM2n model. The one I have is in near perfect condition, with hardly any wear on the body at all. I doubt it has been used much in its life time so far, but that’s about to change!
Even though it was in such good cosmetic condition, the batteries and light seals predictably needed to be replaced. So I ordered some new silver oxide batteries (no the alkaline type), and then started my search for some new light seals. I stumbled on the kits made by Jon Goodman and ordered one after reading so many good reports. The light seal kit came today, so I really wanted to get started on it. This is how it went :
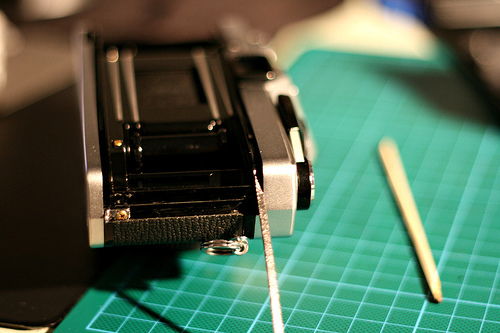
Below you will see a couple of pics of the old light seals. They have deteriorated quite a bit over time, and have just turned into black sticky muck basically.
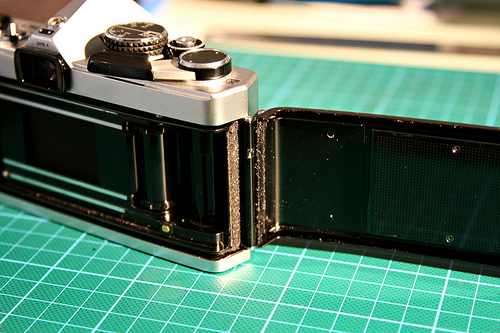
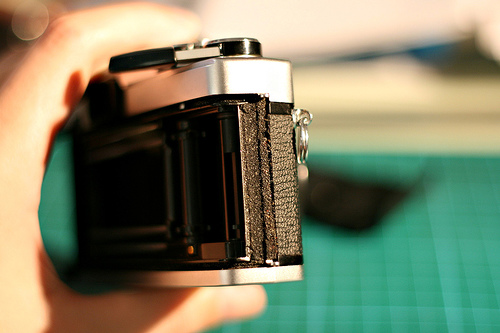
The first step was to remove the remaining old seals. This was done using solvent and this nifty little bamboo stick that came with the light seal kit. It didn’t come out as easy as I had hoped, and took quite a lot of time to scrape it all out. Next time I’ll use a slightly more powerful solvent.
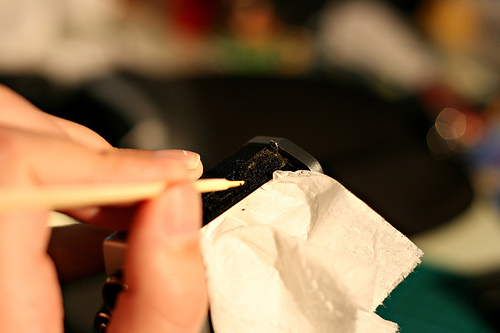
Next, I had to put the new foam light seals in. First I put in new rail slot on the back. Then a nice new fabric hinge seal. Both were very self explanatory to do.
After that I had to move onto the hard bit, the mirror damper. This was actually really tricky for a couple of reasons. First of all, the area is physically quite difficult to get to, and it was hard to get any light in there to see what you were doing (I should of done it during the day with some natural light). The other difficult part was actually cutting the foam to size. Adhesive backed foam cut at 2mm wide is reluctant to retain its shape, and it’s easy to get a bad cut. Using a Stanley Knife I managed to get it first go, but there has to be a better way of doing it, something I’ll think about for next time. Below you can see one of the two “L” shaped pieces of foam I had to cut. It looks a lot easier than it was!
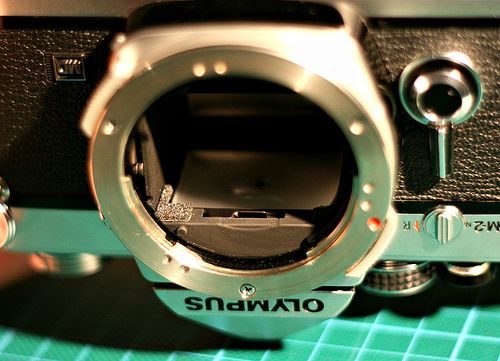
After the mirror damper was replaced the whole process was complete. As mentioned, it was mostly self explanatory and simple except for the intricate last step. You can comfortably replace all the seals in half an hour though and at a fraction of the cost of paying a camera store to do it for you. The kit from Jon Goodman was great. It contained everything needed (besides the Stanley blade) and there is enough foam left over just in case you make a mistake and need to tray again. Once you learn the principles you can apply the knowledge to a range of other cameras that may need light seal repairs. At the end of the day, all you’re trying to do is create a light tight box after all.
3 Comments
don
Nice post. I used to have one of these cameras. It was small and sleek, but sadly, it wasn’t constructed nearly as good as my old Canon’s or Nikon’s. This post brings back a lot of memories!
Arran
Really? I’ve never heard anyone say they arent constructed as well as other cameras from the same period before. I’ve actually heard quite the opposite, that they’re practicaly indestructible (within reason ofcourse). Some things that i can see that could break though are some of the plastic switches and the timer on the front of the camera, they dont that well designed, and could probably snap if someone was a bit too rough with it.
Thanks for reading the post though, im hope it brought back happy memories, and not bad ones! haha. cheers
Robert Studio Man
I’ve owned all of Canon’s “A” series cameras loved every one of them. Went to the Canon EOS system in film and now digital. Am impressed with my Nikon F4 and FM3A, sold most of my film collection of over 100 cameras and now buying back and refurbishing film classics the Olympus OM-2n system is one of these classic cameras. Your post was very good and I thank you for that because it compelled me to have the work done professionally by one who is more familiar with this camera and can do a proper CLA. Thanks for posting.
Robert in London Canada