-
Ghetto style light box
Well I’ve been meaning to make one for a while now, and this afternoon I finally did it.
All you need is:
– Cardboard box,
– White paper, tracing paper or white plastic,
– Tape,
– Lights (desk lamps or anything directional).Method:
Simply cut out the sides of your cardboard box. Obviously don’t cut everything, you need to keep the cardboard box as a frame so it’s keeps its structural integrity. Next you just tape the paper to the sides of the remaining cardboard box “frame” making sure to leave one side completely open. By now you should have a box frame with paper attached to all but one side. If so, you’re finished!Well almost. All that’s left is setting up your light sources to point through the paper sides of the box shining in to the object you’ll place inside. The idea is that the paper diffuses the multiple light sources entering the light box creating a soft even light with minimal shadows. It’s best to have the same type of lights on the outside if possible as it helps keep an even white-balance. As you can see my white balances are off as I ended up using 4 completely different light sources, which wasn’t ideal.
I think I got an ok result for a first time test. I need to work on focusing and composition, as well as exposure and controlling the harshness of the lights a bit more.. So basically everything..
I’m looking forward to giving it another go though when I can spend more than 10 minutes setting it all up.
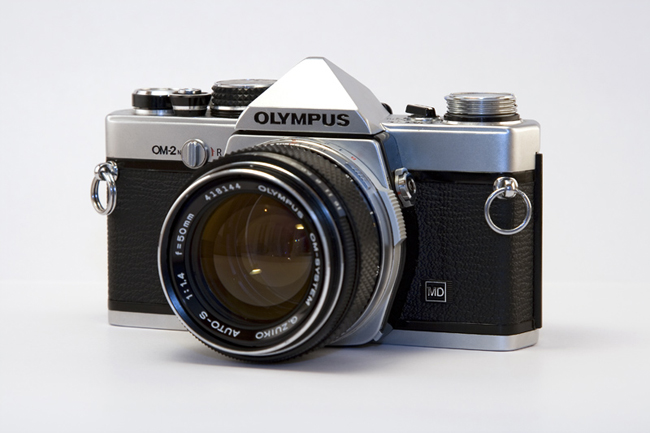
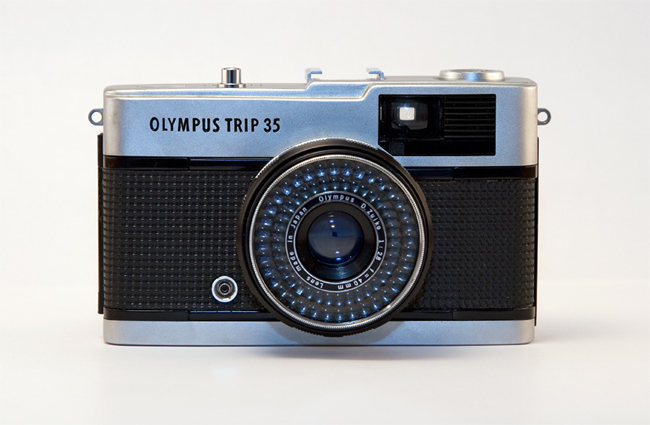
Here are a few of my results so far (yes, the white balance is all over the place).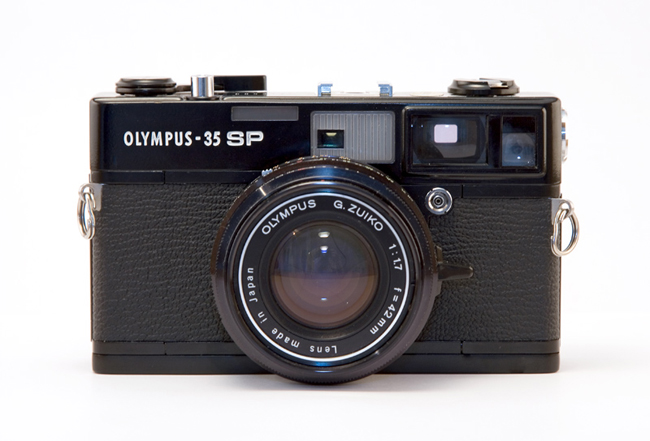


😀

-
OM2n Light Seal Repair
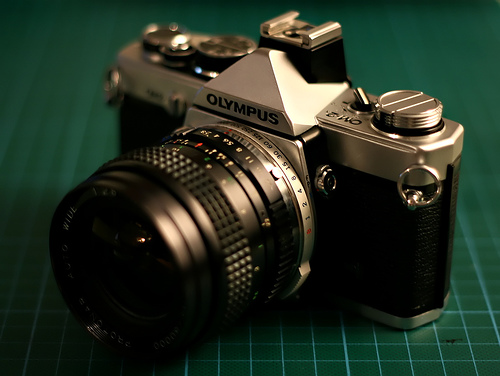
I’ve acquired yet another Olympus OM but this time the OM2n model. The one I have is in near perfect condition, with hardly any wear on the body at all. I doubt it has been used much in its life time so far, but that’s about to change!
Even though it was in such good cosmetic condition, the batteries and light seals predictably needed to be replaced. So I ordered some new silver oxide batteries (no the alkaline type), and then started my search for some new light seals. I stumbled on the kits made by Jon Goodman and ordered one after reading so many good reports. The light seal kit came today, so I really wanted to get started on it. This is how it went :
Below you will see a couple of pics of the old light seals. They have deteriorated quite a bit over time, and have just turned into black sticky muck basically.
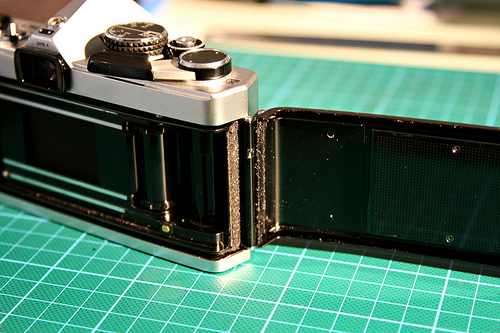
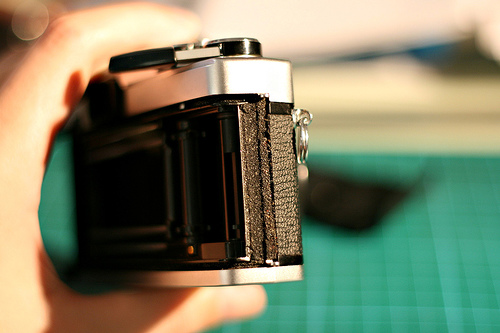
The first step was to remove the remaining old seals. This was done using solvent and this nifty little bamboo stick that came with the light seal kit. It didn’t come out as easy as I had hoped, and took quite a lot of time to scrape it all out. Next time I’ll use a slightly more powerful solvent.
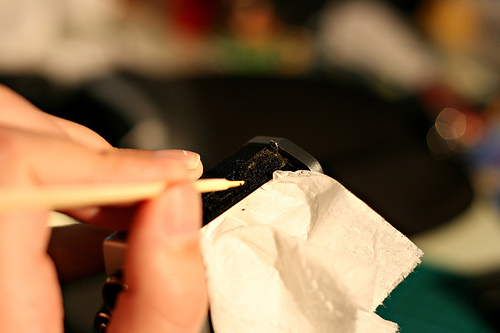
Next, I had to put the new foam light seals in. First I put in new rail slot on the back. Then a nice new fabric hinge seal. Both were very self explanatory to do.
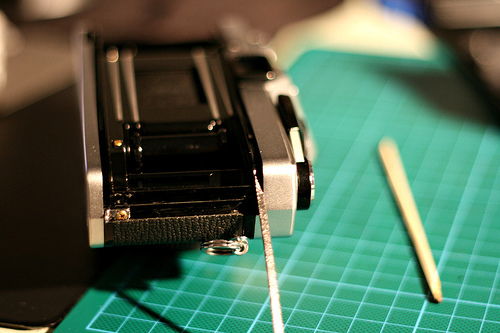
After that I had to move onto the hard bit, the mirror damper. This was actually really tricky for a couple of reasons. First of all, the area is physically quite difficult to get to, and it was hard to get any light in there to see what you were doing (I should of done it during the day with some natural light). The other difficult part was actually cutting the foam to size. Adhesive backed foam cut at 2mm wide is reluctant to retain its shape, and it’s easy to get a bad cut. Using a Stanley Knife I managed to get it first go, but there has to be a better way of doing it, something I’ll think about for next time. Below you can see one of the two “L” shaped pieces of foam I had to cut. It looks a lot easier than it was!
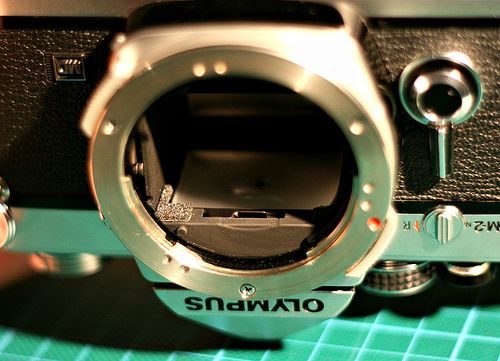
After the mirror damper was replaced the whole process was complete. As mentioned, it was mostly self explanatory and simple except for the intricate last step. You can comfortably replace all the seals in half an hour though and at a fraction of the cost of paying a camera store to do it for you. The kit from Jon Goodman was great. It contained everything needed (besides the Stanley blade) and there is enough foam left over just in case you make a mistake and need to tray again. Once you learn the principles you can apply the knowledge to a range of other cameras that may need light seal repairs. At the end of the day, all you’re trying to do is create a light tight box after all.