-
Silver SP
Well, the other week I was made an offer I couldn’t refuse. The offer was to buy another Olympus SP, but this time in Silver, for a very reasonable price. Actually, an extremely reasonable price. I wasn’t in the market for another camera, let alone another SP, but somehow I convinced myself I should get another one. =/
The SP on offer came with its original case and manual, but the best bit was that it had just undergone a CLA, plus it had a modification that allows it to take modern voltage batteries without any stuffing around. These two things alone would of cost more than what I ended up buying the camera for, so I was pretty pleased. I was about to send my black SP in for a CLA anyway, so this saved me the hassle, plus i can now leave it at home and not worry about scratching the thing (well that’s how I justified the purchase). The silver one is now my user, even though it is cosmetically and functionally flawless. (I would of been happy which a scratched up user, but who am I to complain?)
So anyway, here’s a quick picture of them together below :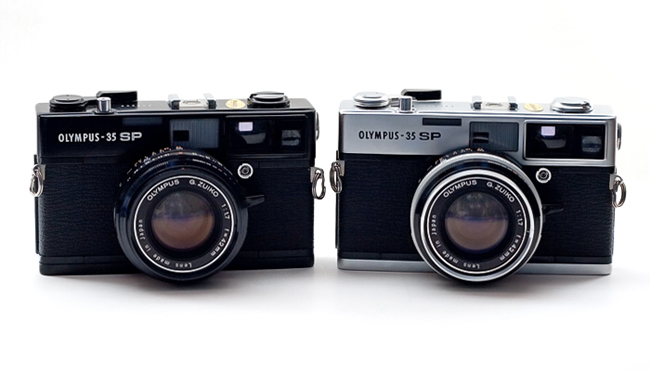
-
Olympus 35-SP
There are quite a lot of options available if you’re looking for a 70’s rangefinder. Some good, some bad, some just mediocre. This variety however produces opportunity to find something interesting or “quirky” that may suit your style or at the very least be a lasting memory of someone’s (or some committee’s) inspired design. There is one model however that stands out amongst many. The brilliant Olympus 35-SP.
Built between 1969 and 1976, this compact rangefinder packs in an unrivalled set of features that puts to shame many of even the most modern rangefinders. Its tack sharp 42mm f/1.7 G.Zuiko lens renders pictures with brilliant colour and contrast. The large bright viewfinder contains parallax error indicators and an accurate rangefinder patch. Then there’s the sophisticated metering system.
The Olympus 35-SP has the distinction of being the first ever 35mm rangefinder with dual metering options. Both centre weighted and spot metering is available to the user, which is quite amazing when you consider its age and compact size of the camera. After the SP was produced, Leica included spot metering on the Leica M5 and CL but they were already beaten to the punch, and quite frankly were inferior to the accuracy of the 6 degree spot that came with the SP. Unlike many other rangefinders from that era the light metering works in full manual mode also, which is quite useful when shooting in tricky lighting conditions or if you’re after a specific effect only manual control can produce.Besides a revolutionary metering system, the Olympus SP came with a brilliant lens mentioned earlier. This 7 element 42mm f/1.7 G.Zuiko is regarded as one of the finest rangefinder fixed lenses ever produced. The Olympus RD (which came after the SP) has a similar lens, and although a great camera in its own right it lacked the 7th correcting element. Don’t let anybody try and tell you that they’re the same lens, because they’re in a different league. The SP lens focuses down to about 2.8ft and has a super smooth focusing action with a convenient lever on the side of the barrel. All automatic and manual exposure options are contained on the barrel rings as is the timer. After a while you can adjust these without taking your eye from the viewfinder, but admittedly it will take a little practice.
So with the SP you get a bright accurate viewfinder, unrivalled metering options, one of the best rangefinder lenses ever produced, all squeezed into a tough and compact body that manages to weigh less that comparable rangefinders of that era… What more do you want??
Oh yes, it comes in a (scarce) black finish too, and I was lucky enough to find one 🙂 (picture taken with my homemade light box)
*EDIT: I just got a Silver one also, check out a picture of them together here
-
Ghetto style light box
Well I’ve been meaning to make one for a while now, and this afternoon I finally did it.
All you need is:
– Cardboard box,
– White paper, tracing paper or white plastic,
– Tape,
– Lights (desk lamps or anything directional).Method:
Simply cut out the sides of your cardboard box. Obviously don’t cut everything, you need to keep the cardboard box as a frame so it’s keeps its structural integrity. Next you just tape the paper to the sides of the remaining cardboard box “frame” making sure to leave one side completely open. By now you should have a box frame with paper attached to all but one side. If so, you’re finished!Well almost. All that’s left is setting up your light sources to point through the paper sides of the box shining in to the object you’ll place inside. The idea is that the paper diffuses the multiple light sources entering the light box creating a soft even light with minimal shadows. It’s best to have the same type of lights on the outside if possible as it helps keep an even white-balance. As you can see my white balances are off as I ended up using 4 completely different light sources, which wasn’t ideal.
I think I got an ok result for a first time test. I need to work on focusing and composition, as well as exposure and controlling the harshness of the lights a bit more.. So basically everything..
I’m looking forward to giving it another go though when I can spend more than 10 minutes setting it all up.
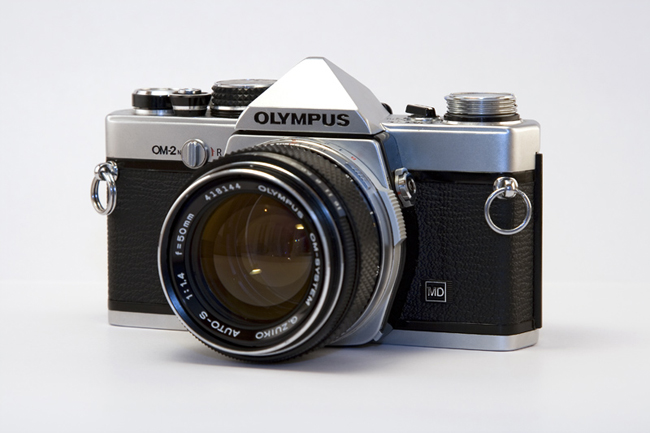
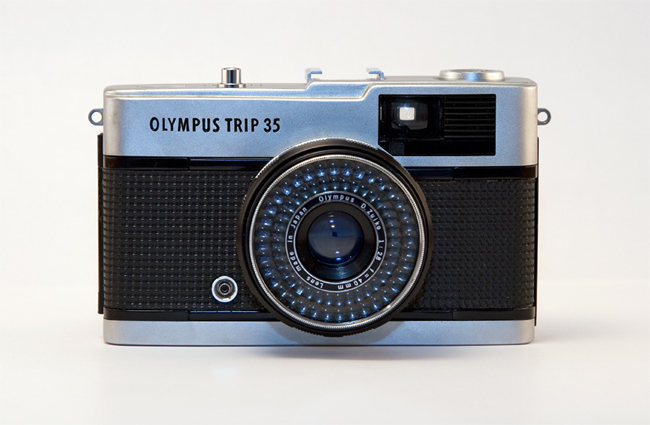
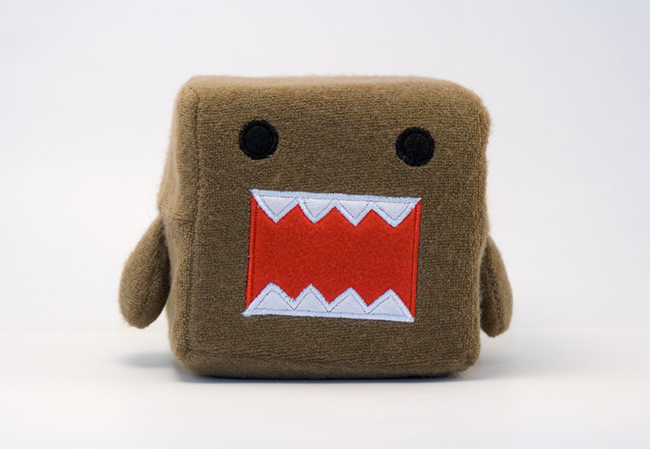
Here are a few of my results so far (yes, the white balance is all over the place).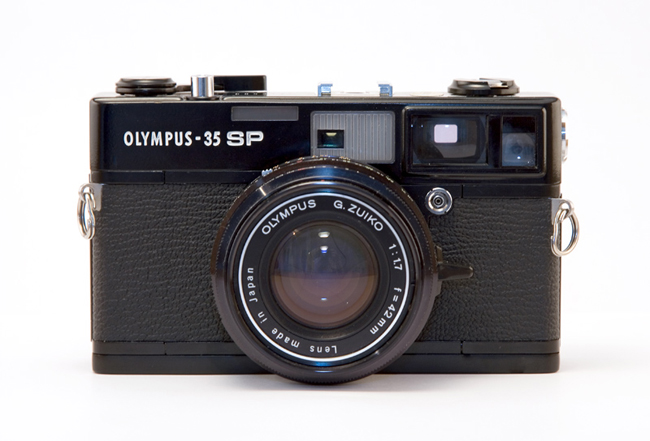
😀