
Camera
-
Developed my first roll today
Wow, two posts in one day. Go me.
I developed my first roll of film today. As I mentioned in a previous post, i’ve been thinking of trying out some black and white film developing for a while now. This week i got some gear and gave it a go.
I shot a roll on Agfa APX100 and developed it in Rodinal at 1:50 for 13 minutes, then used Ilford stop bath and fixer.
It was a pretty straightforward process, the hardest bit was starting, as I was worried about stuffing something up. In the end I did stuff something up, but it had nothing to do with the chemicals and timing etc. It was the fact that I stupidly hung my negatives to dry in a shower with a leaking head. So I got drips of water down the bottom of my strip of negatives. Some of the water marks dried out, but others didn’t. You always stuff up the shots you’re most interested in seeing don’t you… Well I do anyway.
The negatives that didn’t dry out are being re-soaked. Hopefully i can salvage some of them.
I was quite happy with the ones that did dry properly, so I scanned them in with my ancient scanner that magnifies grain and dissipates tonal range.
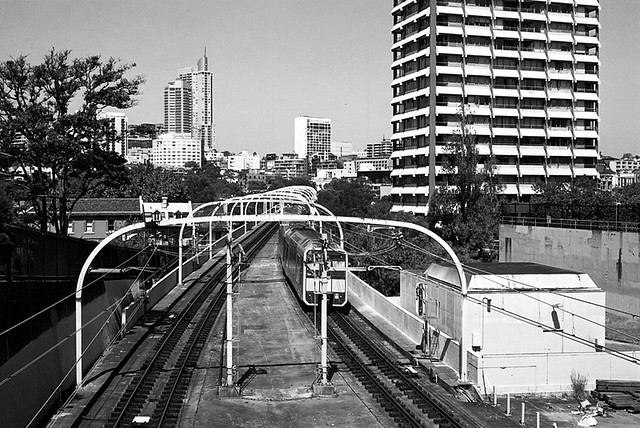
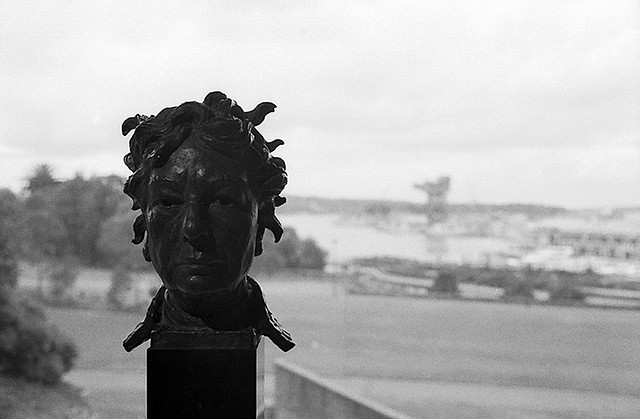
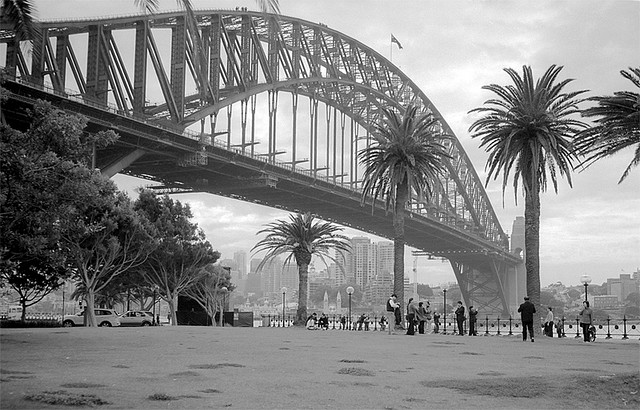
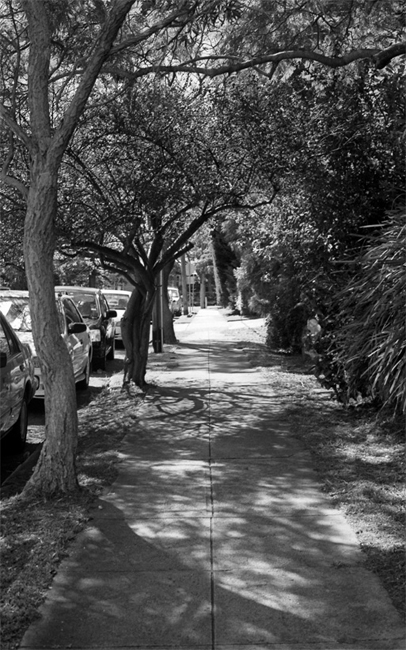
Here are a few shots that scanned ok.
They’re aren’t amazing, but I am more interested in seeing if I developed them correctly or not. I think they’re pretty close.
As you can tell in some of the shots, the light was incredibly harsh the day I took these…. One day I’ll be able to shoot in favourable light… One day.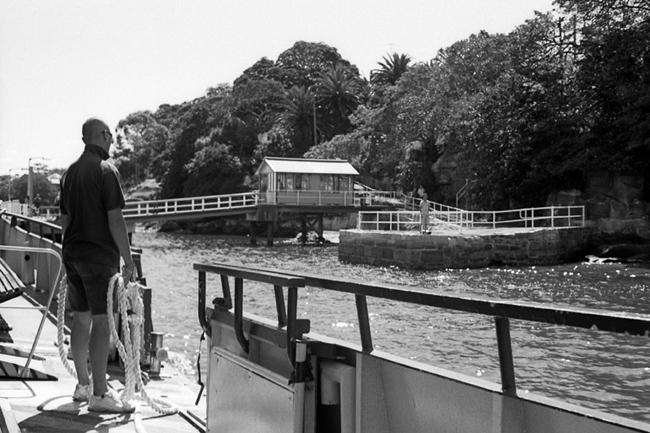
-
Test roll from my SP
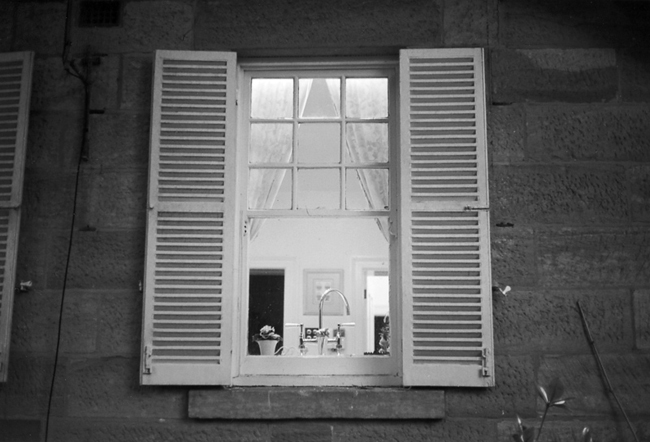
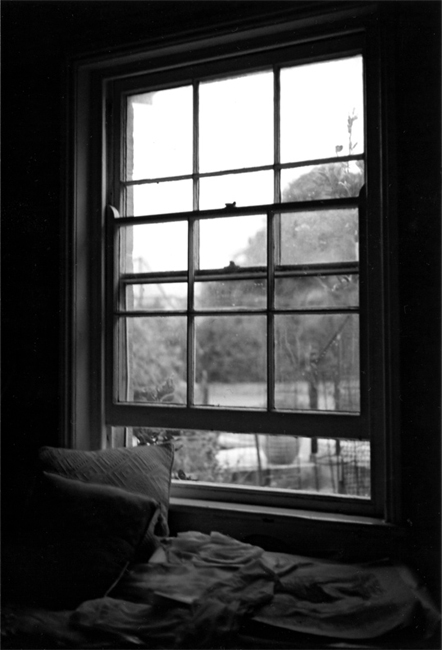
Took the Olympus out the other day and shot a roll of C41 b&w I had lying around. The temperature was mid 30’s and not a cloud in the sky, so the light was REALLY harsh.
The SP functioned great. It’s a great camera to shoot with, really comfortable and easy to use. The only issue I had is that my light meter has bit of a mind of its own. It sometimes refuses to turn on when I take the camera out of its case. However when it decides to work it’s accurate.
This was predominately a test roll as I didn’t know if the camera would work. I didn’t even bother changing the light seals either, but they appear to be fine. The lens is super sharp and bokeh is nice and smooth. I have to get a proper film scanner now, I’m sick of scanning prints and getting results that don’t really reflect the quality of the negatives. Some of the shots turned out ok though I thought.
EDIT: 3 or 4 pics have been corrupted so have been removed and will be re-uploaded and posted shortly.
-
Mr Voigtlander Vito BL
I say “Mr” out of respect because he’s damn old… Well compared to my other cameras anyway.
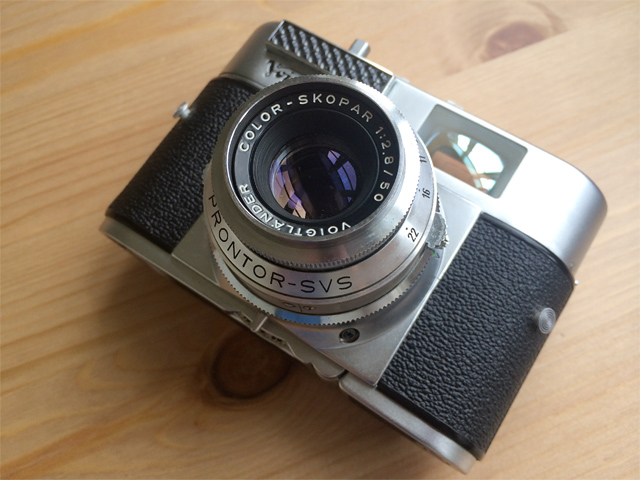
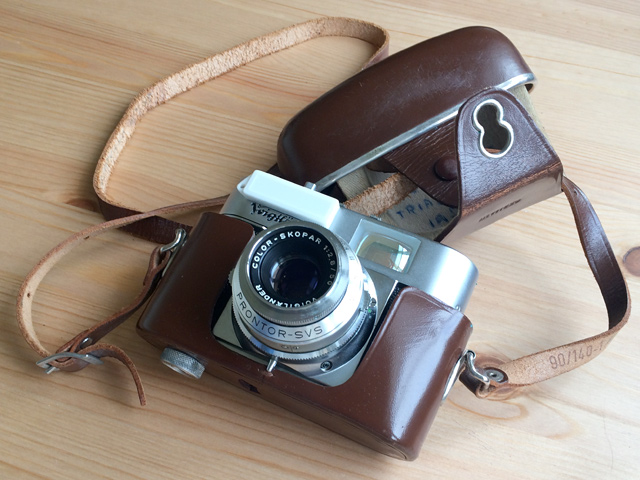
I have acquired yet another camera, it’s a Voigtlander Vito BL which looks like a terrific little thing. They’re not particularly a fashionable camera or have much of a cult following, however from what I’ve read they are regarded very well and produce some quality results. You may say by today’s standard their operation is quite archaic, and it isn’t packed with any advanced features, but it still has a lot going for it. First of all it has a very capable 50mm f/2.8 lens that produces some very distinct and impressive results. Secondly it’s compact and smaller than most of my 70’s rangefinders. Then it has the bonus of not needing batteries as it comes with a selenium light meter. Oh and last but not least, its looks pretty damn good, I’ve already got comments about it and I’ve owned it less than a week.
Its been hard finding specific information about this camera, but there were several models in the Vito series. The BL began construction in 1956 and was based of a previous B model but came with the addition of a Bewi-Automatic Light Meter. Operating the light meter definitely isn’t simple, you need to dial in certain settings then hold down the light meter button to take a reading. If you wanted to take pictures in a hurry using the onboard light meter you’d be in for bit of a challenge. Everything else operates quite simple though, loading film is done like normal, focusing and aperture/shutter speed selections are all on the lens barrel. The ergonomics of the camera seem quite good. It’s compact in width, but relatively tall which means your hands can grip the camera body easily and the shutter button seems to be perfectly under your index finger without having to search for it. The film advance lever is also great as its mostly recessed into the camera body except for the end which sticks out enough for your thumb to grip easily to advance the film. It all just looks so neat and feels well designed and would put many modern cameras to shame.
I picked this camera up for literally pocket change and it came with the original leather case, instructions, and what i eventually discovered as a plastic incident light attachment cover for the light meter, I’m sure many have been lost over the years. I was surprised that the camera not only looked close to perfect, but appears to be working perfectly too. I was all prepared to go in and start taking apart the shutter etc but everything works wonderful.
I love cameras like this, small, unassuming, and still functional even after 50 years. I wonder how many consumer goods sold today will be as useful in 50 years time as this little camera is.Below are a few pictures of the little beast. I still haven’t cleaned it yet, but you can see the great condition it’s in.
-
Pinhole Body Cap
Well last year I saw some pictures a guy took with a home made pinhole adapter for his DSLR. The results were quite interesting, and thought it’d be fun to try out. All you really need is a body cap for your camera and a piece of aluminium foil. I didn’t have a spare one at the time so never bothered with it, but last year I bought one for about $1 when I was in Japan and thought it’d be good for this project. Last week I finally got around to making the pinhole body cap and had some fun testing it out.
Here are some pictures I took around my house the day I made the pinhole cap. It was raining outside so I couldn’t get any external shots which is what I originally wanted.
I didn’t apply any post processing to these shots, besides one that I stitched together. The results aren’t ground breaking but it was a fun experiment.


*This one was made from two photos stitched together.
It was all a bit of trial and error, and conditions weren’t ideal, but I think the feel of them are quite interesting, and I look forward to trying the pinhole adapter outside.
Below is a picture of my homemade pinhole body cap clearly crafted to the highest quality and standards….
All you do is drill a hole in the plastic body cap (can be any size you want really). Then you get some aluminium foil, put a tiny hole in it with a pin, and stick the aluminium foil to the body cap so the pinhole is as close to the middle as possible. Very simple.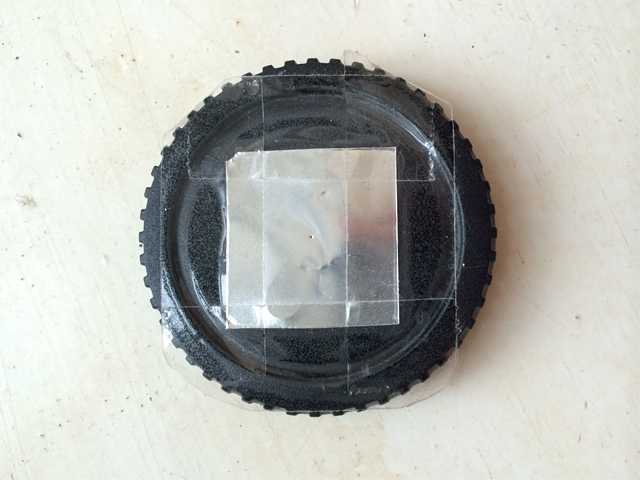
-
A nice surprise
Well I started off having a pretty bad morning today before I’d even left for work. But when i got there i had a nice surprise.
I looked on my desk and saw something that I definitely didn’t leave there the previous day. It was in the shape of a crusty old looking Olympus OM1. Awesome!
See the good thing about being known as a “camera/photo guy” among friends is that when one of them sees a camera they think of you.. And this is what happened in this instance. One of the people i work with was at a garage sale earlier on. Unfortunately it was full of the usual plastic toys and old babies clothes… All useless shit (I don’t know why you’d want to buy your newly born baby some old babies clothes that the previous occupant has probably crapped in a dozen times). Anyway, that’s a whole other story.
The guy from work was at this garage sale full of useless crap when he spotted the Olympus. It was covered in dust and grime but still thought of me (hmm, maybe that’s not a good thing?). The asking price was a huge $2, so he bought it for me. I was totally taken back by the gesture as nobody has ever actually bought me an old camera, especially a good one, and especially one that i can actually use with all my other lenses etc. Generally people try to stop me buying old camera stuff and steer me away from anything that I’ll probably end up buying. So yeah, I was extremely happy, and it made my day.
The camera itself is very rough. As in, its the poorest condition camera I’ve ever owned. But I know for a fact it’ll be working perfectly it next to no time. I started off by cleaning it tonight and it’s come up wonderful. The only negative side to cleaning up the camera body is that you suddenly see all the bumps in it that were previously covered up. It was clear from the beginning that this camera will never be a show piece, but I always wanted an OM1 to use, its close to the perfect SLR.
So anyway, after cleaning the body up I thought I should check out to see if the thing actually works. The viewfinder was perfectly clean which was a relief. Then i noticed the light meter needle which was moving as I changed apertures and shutter speeds. Woohoo! That seems to be working, just not sure how accurate it is, but definitely a positive. Quickly fixed the film rewind lever that was assembled wrong (someone must of taken it apart in the past and put it back together wrong.
Next was to see if the shutter actually fired. This is where things get a little less perfect. Well, the shutter itself fires beautifully and at all different speeds. But to get the shutter to fire I need to advance the film lever which is a little strange. For some reason it wont wind fully the first go, so I’ll have to give it 1 wind and a bit for the shutter to be able to fire. Obviously it just needs an adjustment, and it actually still works fine in the end. This thing will be working perfectly soon, but i might start using it before then anyway 🙂Below is a quick picture of the beast before the clean (It actually looks a lot cleaner in the photo than in real life). I’m too tired to post up the cleaned version, so i’ll do that another time. But as you can see, the camera was pretty crappy. Oh it also came with the 50mm f/1.8 lens too which didn’t work until i took it apart also 🙂 Was definitely a learning experience as I’d never taken a lens apart and had no instructions. I managed to get all the dust out of it and clean the aperture “thingy” (technical word). It all seems to work perfectly, but will probably seize up soon, as I didn’t lubricate any of the parts when i put it back together.
So yeah, here it is so far. I’m looking forward to eventually taking some pictures with it and posting them up here.