-
Filters, Flares, and Ghosts
Just some shots from the other day. Tried some 400 ISO HP5 out this time, I don’t mind it at all. Developed in Rodinal 1+50 for 11 mins. The damn flare killed the second shot, should of expected it though. The shot with the flowers was taken with an old red filter I was testing out. Oh, and check out my ghost photo at the bottom :p


OMG A GHOST! :p
-
Scanned some more shots
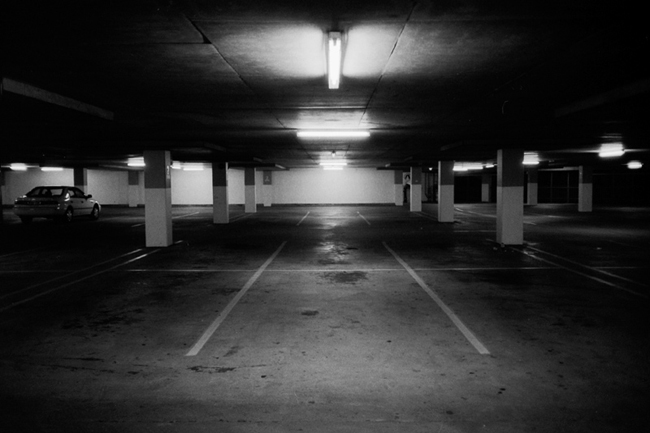
Scanned some more shots today, nothing profound, more just fodder to try out some new developing times. APX400 in Rodinal at 1:50 for 28 minutes. Its all a learning experience for me so I’m quite pleased with how they turned out. Also, I couldn’t find any suggested times suitable, so I kind of had to make my own up.
The thing I’ve noticed lately with film is that shallow depth of field shots looks wonderful. Especially with some nice grain, it has such a unique aesthetic that I really love. In the future I’m going to try and take advantage of that more.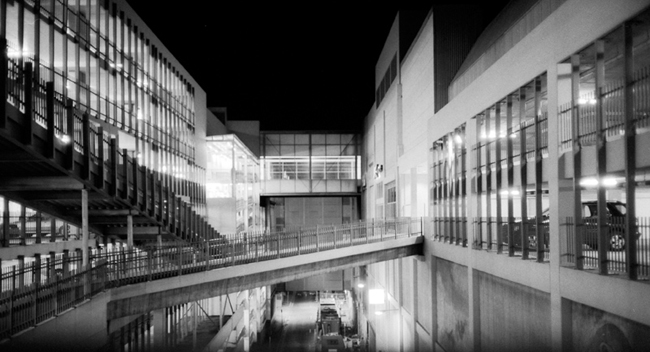
-
b&w film developing
I’ve started developing my own black and white film recently, so thought I’d post up some info on the process for others who may also be starting out. When I first begun researching the process I noted the vast array of conflicting opinions for the more minute details, however managed to distil the fundamental process of developing fairly easily. Quite simple, it consists of three steps. They are :
- Developer
- Stop Bath
- Fixer
Now it’s possible to break down each step further as there are almost endless options. Basically it comes down to timing and choice of chemical. I decided to keep things simple though so this is how I approached those steps.
- For my developer I chose Rodinal. It is the oldest commercial developer on the market, so my logic was that there should be plenty of info about dilution and timing online already.
- Next you have the stop bath. This can consist simply of water if you choose, however I decided to go with an Ilford stop solution as it uses less water and is a little quicker (Ilford Ilfostop).
- Lastly there’s the fixer with another range of chemical options, however I kept things simple and went with an Ilford product again (Ilford rapid fixer).
After completing these 3 fundamental processes you have a couple of extra options :
- A Hypo-Clearing Agent which cuts down washing time considerably (instead of using 30 minutes you use 7 for example).
- Then a product like Photoflo which is the very last step before drying. It will coat the film and help prevent uneven drying and water marks etc.
Although these two steps are optional, they are worthy of serious consideration. After you’ve completed the whole process all you need to do is hang the film to dry. If you don’t have a dedicated dryer it’s recommended by many to let the film dry overnight. I normally wait at least a few hours depending on the weather though as I’m often a little impatient. You just don’t want to put wet film away in to storage though as it won’t end well.
Now, what about timings and dilutions for the development stage? Behold the amazing resource that is digitaltruth’s Massive Dev Chart :
http://www.digitaltruth.com/devchart.html
It should contain the film you’re choosing to develop and the developer you’re using. Just match it up with the iso you shot at and choose your dilution, you’ll then have a suggested development time. Bear in mind though with b&w film there is no standard method, it involves trial and error as factors such as water type and temperature, dev tank and reel design, rotation method and chemical age can all influence the end result. My tip would be using the same equipment and keeping your own journal of dev times and results to refer back to.In the interest of keeping things simple I’ve left out a number of elements that are better demonstrated than written. Simply search youtube for a guide on film developing as visualising the process will increase your chances of success. Here are a couple links to help get you started :
http://www.youtube.com/watch?v=Vu0Ul_wsYO8 (One of many film developing videos on youtube)
http://outsideinpixels.com/blog/?p=1152Â (My friend Jack’s more detailed film developing guide)
http://www.photogs.com/bwworld/bwfilmdev.html (Another b&w film developing guide I used to get started)Below is a picture of the equipment I’m using at the moment. Nothing advanced of complicated, all very simple stuff. In addition to this I have a dust proof folder to store negatives in, plus 3 more measuring jugs.
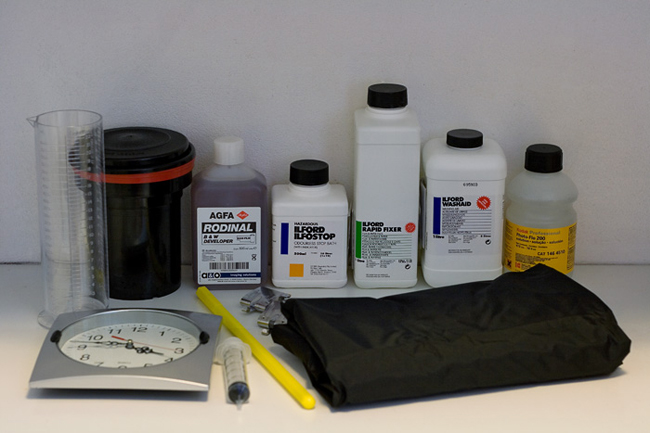
In the photo you can see the chemicals, the developing tank with 2 reels inside (back left), the changing bag (front right), thermometer (in yellow case middle centre), film clips, measuring syringe, cylinder measuring graduate, and a cheap $2 clock with seconds hand. The chemicals are relatively cheap, and everything else is reused, so after the initial purchase the only things you’re spending money on is the film. At the moment I’m using the Rodinal at 1:50 for 13 minutes for 100ISO film, so at 6ml per roll, the 500ml bottle will last ages.
It’s a really enjoyable and rewarding process so I suggest everyone should try it at least once. The only danger is you may get the urge to make your own wet prints. An equally enjoyable process but one requiring a slightly greater commitment of time and resources!
-
Circular Quay
I love my little 1 cent Olympus Trip!
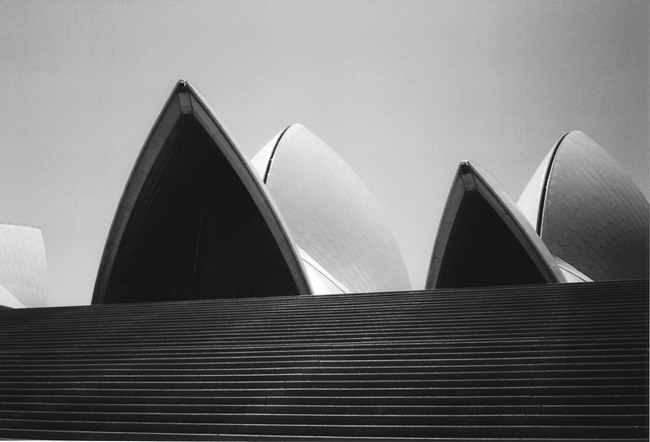
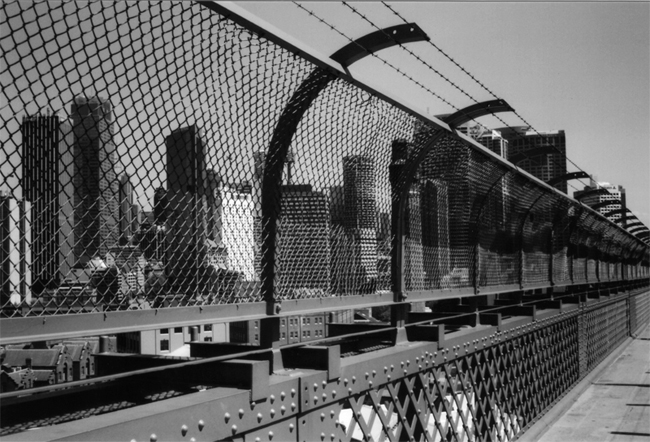
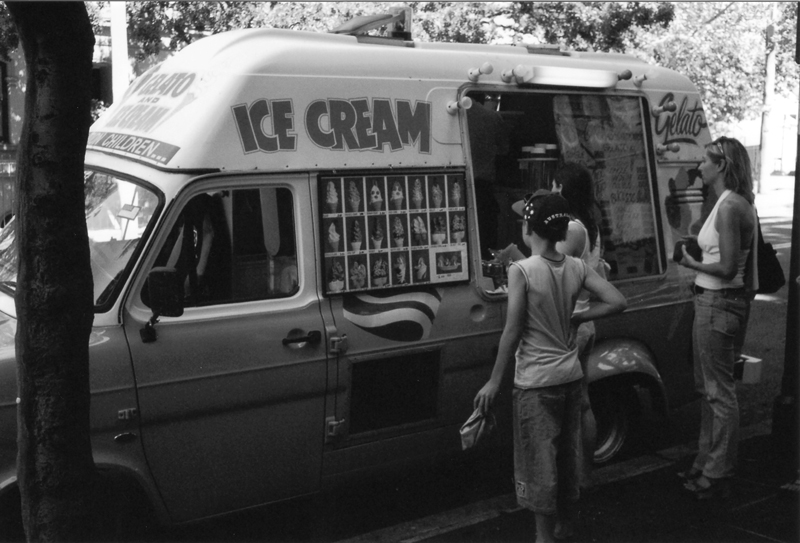
I just got some photos back today that I took over the weekend, and I’m quite happy with them. One thing I’m not happy about though is my scanning of them, it’s quite poor, so I’m thinking of investing in a dedicated scanner or at least getting the lab to do it.Anyway, these were taken in and around Circular Quay on an extremely sunny day. The glare was insane, and I was pretty worried about how the photos would come out. Luckily they came out pretty good in most cases (better than the digital scan shows also), but I’d like to go back on a day that has some better light for photography. Here are some that I’ve scanned so far (still have half a roll to go).
EDIT: Some images have been corrupted so were removed from this post. Will re-upload them shortly.