Photos
-
Random Updates
Been shooting with the SP lately and its been terrific. Except for the fact that my light meter seems to be possessed! As in it’ll turn itself on or off depending on what it feels like. Luckily its been working most the times I’ve wanted it to. Thinking of taking it in for a CLA and maybe converting it to use the modern Alkaline batteries. Either that or get another one to use regularly, as I’ve become a little hesitant using my black SP as prices seem to sky-rocketing and I’d hate to loose it or drop it.
I’ve decided to start developing my own black and white film. Been thinking of it for a while now, and have finally been convinced by seeing a couple people I know get into it recently. I first learnt film developing and printing in high school and got some pretty impressive results, but I seem to of forgetting most of the details, so will have to relearn everything again. It’ll be fun though I hope! Think I’ll stick with Ilford chemicals and film at the moment, see how it goes, i forget what i used to use.
I’m going to need to invest in something that can scan film properly. My current film scanner is a flatbed scanner with film adapter but its useless. Results are really low res and overly grainy. So i have a few options; a better/newer flatbed film scanner which are quite cheap, or a dedicated film scanner which are relatively expensive. I’m really not sure what to go with yet.
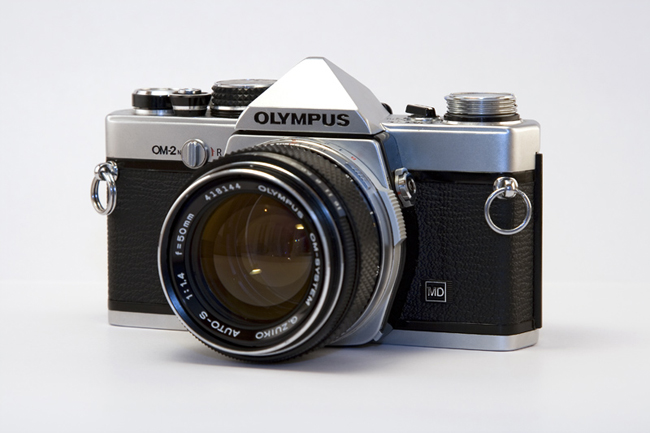
Bought some Ilford XP2 Super last week. Been curious as to see how it looks with my Zuiko’s. I’ve only been using the Kodak BW400CN so far as it seems to be more common. Both are the same price though.
Really want to upgrade my 400D now. I want full frame, and something that can handle ISO noise better. Trying to find a second hand 5D, but nobody seems to be selling, everyone must be waiting for the replacement to come out first.
Why is photography expensive… Sometimes I wonder why I didn’t take up something like whistling instead…
Oh, Happy Easter! -
Pinhole Body Cap
Well last year I saw some pictures a guy took with a home made pinhole adapter for his DSLR. The results were quite interesting, and thought it’d be fun to try out. All you really need is a body cap for your camera and a piece of aluminium foil. I didn’t have a spare one at the time so never bothered with it, but last year I bought one for about $1 when I was in Japan and thought it’d be good for this project. Last week I finally got around to making the pinhole body cap and had some fun testing it out.
Here are some pictures I took around my house the day I made the pinhole cap. It was raining outside so I couldn’t get any external shots which is what I originally wanted.
I didn’t apply any post processing to these shots, besides one that I stitched together. The results aren’t ground breaking but it was a fun experiment.


*This one was made from two photos stitched together.
It was all a bit of trial and error, and conditions weren’t ideal, but I think the feel of them are quite interesting, and I look forward to trying the pinhole adapter outside.
Below is a picture of my homemade pinhole body cap clearly crafted to the highest quality and standards….
All you do is drill a hole in the plastic body cap (can be any size you want really). Then you get some aluminium foil, put a tiny hole in it with a pin, and stick the aluminium foil to the body cap so the pinhole is as close to the middle as possible. Very simple.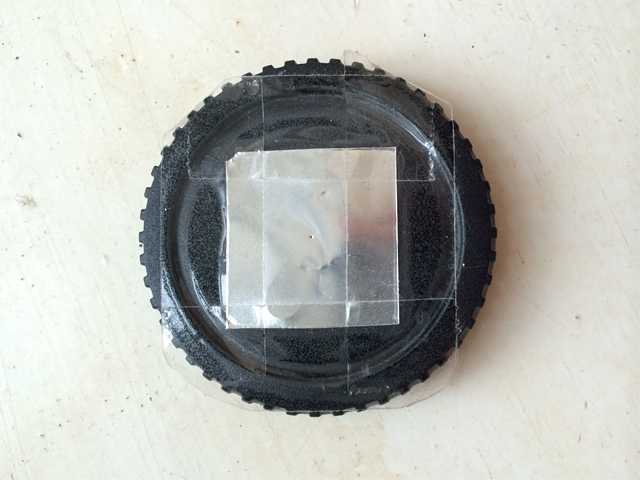
-
Ghetto style light box
Well I’ve been meaning to make one for a while now, and this afternoon I finally did it.
All you need is:
– Cardboard box,
– White paper, tracing paper or white plastic,
– Tape,
– Lights (desk lamps or anything directional).Method:
Simply cut out the sides of your cardboard box. Obviously don’t cut everything, you need to keep the cardboard box as a frame so it’s keeps its structural integrity. Next you just tape the paper to the sides of the remaining cardboard box “frame” making sure to leave one side completely open. By now you should have a box frame with paper attached to all but one side. If so, you’re finished!Well almost. All that’s left is setting up your light sources to point through the paper sides of the box shining in to the object you’ll place inside. The idea is that the paper diffuses the multiple light sources entering the light box creating a soft even light with minimal shadows. It’s best to have the same type of lights on the outside if possible as it helps keep an even white-balance. As you can see my white balances are off as I ended up using 4 completely different light sources, which wasn’t ideal.
I think I got an ok result for a first time test. I need to work on focusing and composition, as well as exposure and controlling the harshness of the lights a bit more.. So basically everything..
I’m looking forward to giving it another go though when I can spend more than 10 minutes setting it all up.
Here are a few of my results so far (yes, the white balance is all over the place).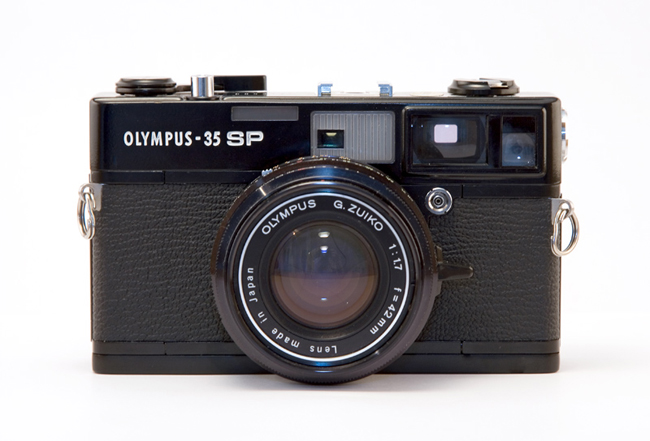

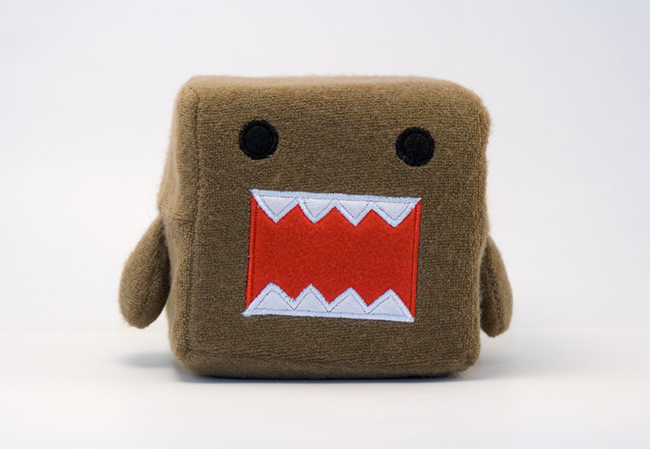
😀

-
12″ x 8″ Prints…
For 10 cents each!!
A forum member was offering a special on their printing service, so I had to take advantage of it.
I got 50 prints which came to a massive total of $5. Yes, 50 12″x8″ prints for $5! 😀
Now I just need to figure out what to do with them. I’m looking for ways to display some of them on a wall, no luck yet though.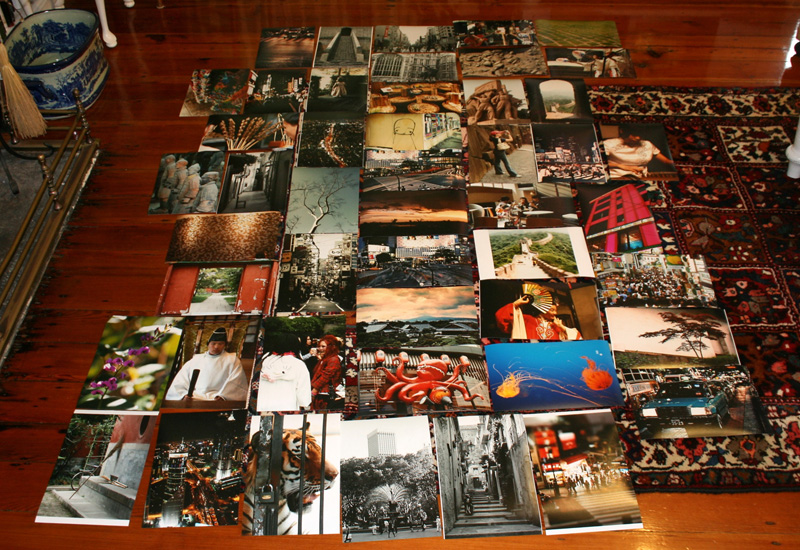
-
Circular Quay
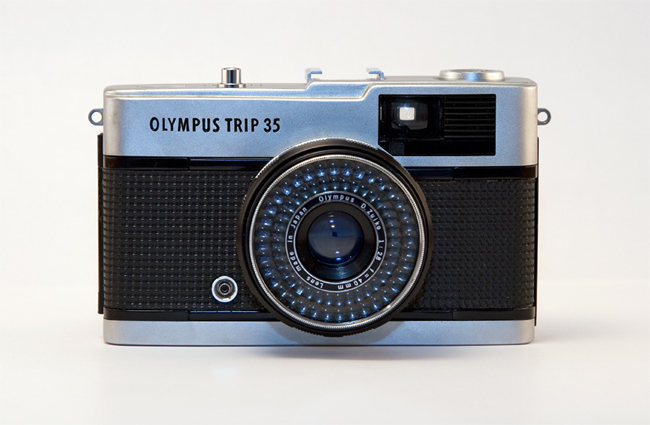
I love my little 1 cent Olympus Trip!
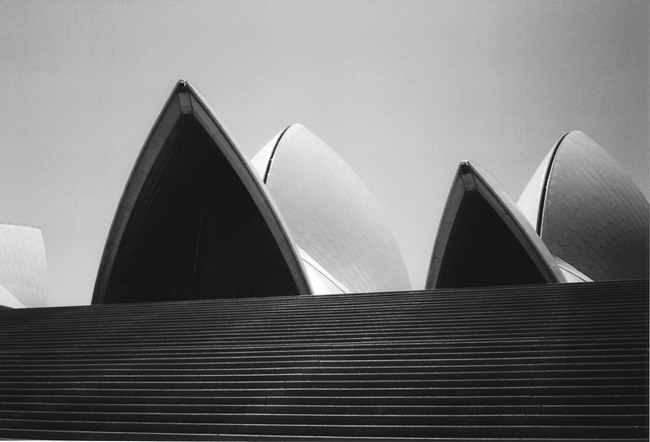
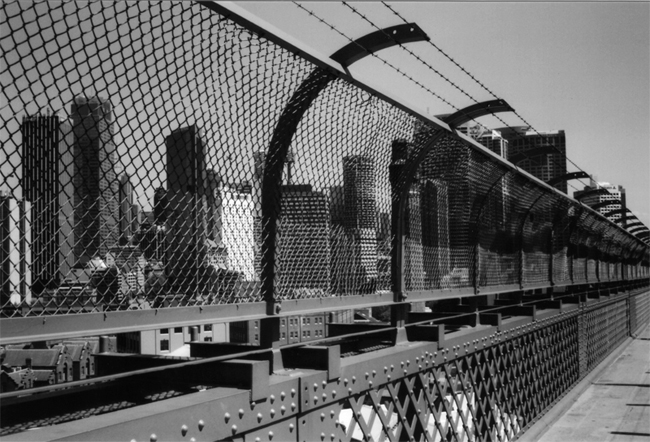
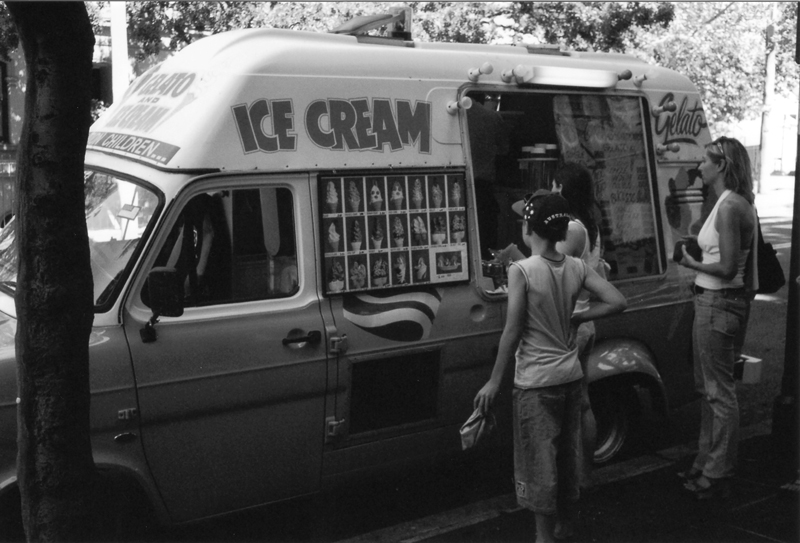
I just got some photos back today that I took over the weekend, and I’m quite happy with them. One thing I’m not happy about though is my scanning of them, it’s quite poor, so I’m thinking of investing in a dedicated scanner or at least getting the lab to do it.Anyway, these were taken in and around Circular Quay on an extremely sunny day. The glare was insane, and I was pretty worried about how the photos would come out. Luckily they came out pretty good in most cases (better than the digital scan shows also), but I’d like to go back on a day that has some better light for photography. Here are some that I’ve scanned so far (still have half a roll to go).
EDIT: Some images have been corrupted so were removed from this post. Will re-upload them shortly.